Nginx as a Load Balancer
November 17, 2024
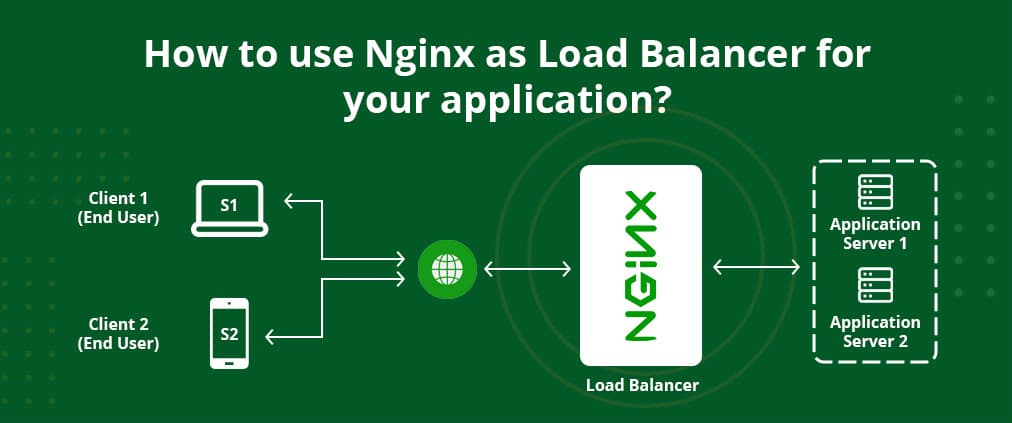
In this article, we gonna discuss how to use Nginx as a load balancer to distribute traffic across multiple Docker containers running Express servers. We will set up four separate Express servers, each returning a different response, and configure Nginx to load balance traffic between them. By the end of this tutorial, you will have a functional load balancing setup, and we will verify that the traffic is being distributed across the servers properly.
Step 1: Setting Up the Docker Environment
Before we begin building the Dockerfile, we first need to ensure that both Nginx and our virtual servers can communicate with each other within the Docker environment. This requires creating a common Docker network. The containers will be able to resolve each other by their container names within this network.
Create a Docker network named loadbalance_net using the following command:
docker network create loadbalance_netStep 2: Create the Express Servers
Next, we will create four separate Express servers, each running inside a Docker container. Each server will return a unique message to help us identify if the load balancing is working correctly.
Create a file called index.js in your project directory with the following content for the first server:
const express = require('express');
const app = express();
const port = 3000;

app.get('/', (req, res) => {
  res.send('Hello from server1');
});

app.listen(port, () => {
  console.log(`Server1 is running on port ${port}`);
});
Similarly, create server2.js, server3.js, and server4.js for the other servers, changing the message in the response to "Hello from server2", "Hello from server3", and "Hello from server4" respectively.
 From node:23

 WORKDIR /app

 COPY package*.json ./

 RUN npm install

 COPY . .

 CMD ["npm", "start"]
Build and run each of the server containers, connecting them to the loadbalance_net network:
docker build -t server1 .
docker run -p 3001:3000 -d --network loadbalance_net --name server1 server1

docker build -t server2 .
docker run -p 3002:3000 -d --network loadbalance_net --name server2 server2

docker build -t server3 .
docker run -p 3003:3000 -d --network loadbalance_net --name server3 server3

docker build -t server4 .
docker run -p 3004:3000 -d --network loadbalance_net --name server4 server4
These commands will start the servers and expose their respective ports on the host machine.
Step 3: Configuring Nginx as a Load Balance
Now, we will set up Nginx to act as a load balancer that will distribute the incoming traffic across these four backend servers. We'll use the Nginx Docker image and configure it to forward traffic to our backend servers.
Nginx Configuration (nginx.conf)
Here is an example of the Nginx configuration (nginx.conf), which sets up the load balancing:
upstream backend {
  server server1:3001;
  server server2:3001;
  server server3:3001;
  server server4:3001;
}
server {
  listen 80;
  include /etc/nginx/mime.types;
  location / {
    proxy_pass http://backend/;
  }
}
Docker file for Nginx
FROM nginx:stable-alpine

COPY nginx.conf /etc/nginx/conf.d/default.conf

EXPOSE 80

CMD ["nginx", "-g", "daemon off;"]
Step4: Build and Run the Nginx Load Balancer
docker build -t nginx_load_balancer .
docker run -p 3000:80 -d --network loadbalance_net --name nginx_server nginx_load_balancer
Step 5: Testing the Load Balancing
To test if load balancing is working, you can access the Nginx server by visiting http://localhost:3000 in your browser. Every time you refresh the page, you should receive a response from one of the backend servers in a round-robin fashion, like:
Hello from server1Hello from server2Hello from server3Hello from server4
Server Weights
By default, NGINX distributes requests among the servers in the group according to their weights using the Round Robin method. The weight parameter to the server directive sets the weight of a server; the default is 1:
upstream backend {
    server backend1.example.com weight=5;
    server backend2.example.com;
    server 192.0.0.1 backup;
}
In the example, backend1.example.com has weight 5; the other two servers have the default weight (1), but the one with IP address 192.0.0.1 is marked as a backup server and does not receive requests unless both of the other servers are unavailable. With this configuration of weights, out of every 6 requests, 5 are sent to backend1.example.com and 1 to backend2.example.com.
Server Slow-Start
The server slow‑start feature prevents a recently recovered server from being overwhelmed by connections, which may time out and cause the server to be marked as failed again.
In NGINX Plus, slow‑start allows an upstream server to gradually recover its weight from 0 to its nominal value after it has been recovered or became available. This can be done with the slow start parameter to the server directive:
upstream backend {
    server backend1.example.com slow_start=30s;
    server backend2.example.com;
    server 192.0.0.1 backup;
}
Limiting the Number of Connections
With NGINX Plus, it is possible to limit the number of active connections to an upstream server by specifying the maximum number with the max_conns parameter.
If the max_conns limit has been reached, the request is placed in a queue for further processing, provided that the queue directive is also included to set the maximum number of requests that can be simultaneously in the queue:
upstream backend {
    server backend1.example.com max_conns=3;
    server backend2.example.com;
    queue 100 timeout=70;
}
If the queue is filled up with requests or the upstream server cannot be selected during the timeout specified by the optional timeout parameter, the client receives an error.